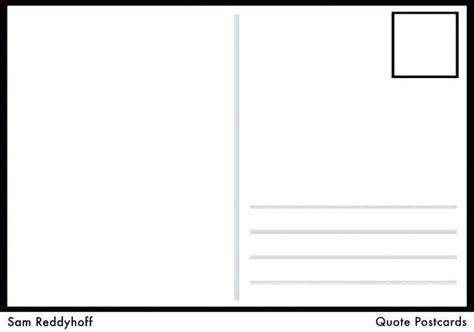
Creating a 4x6 postcard template in Adobe Illustrator is a straightforward process that can help you design professional-looking postcards for various purposes, such as marketing, invitations, or personal correspondence. Here's a step-by-step guide on how to create a 4x6 postcard template in Illustrator:
Starting Your Project
-
Open Adobe Illustrator: Launch Adobe Illustrator on your computer. Make sure you have the latest version installed for the best features and performance.
-
Create a New Document:
- Go to
File>New>Document(or use the shortcutCtrl+Non Windows orCmd+Non Mac). - In the New Document dialog box, you can choose from various presets or set up your document from scratch.
- Go to
-
Set Up Your Document:
- Profile: Choose "Print" since we're designing for physical printing.
- Number of Artboards: Keep it at 1 for a single postcard design.
- Artboard Dimensions:
- Width: 4 inches
- Height: 6 inches
- Units: Inches
- Color Mode: CMYK (since we're preparing for print)
- Resolution: 300 ppi
- Click "Create" to open your new document.
Designing Your Postcard
-
Background:
- Create a new layer by going to
Layer>New>Layeror use the shortcutCtrl+Shift+N(Windows) orCmd+Shift+N(Mac). - Name this layer "Background."
- Use the Rectangle Tool (
Mshortcut) to draw a rectangle that covers the entire artboard. This will be the background of your postcard.
- Create a new layer by going to
-
Design Elements:
- Create separate layers for different design elements like text, images, and graphics. This helps in organizing your work and makes editing easier.
- Use various tools and shapes to add graphics or use the
Typetool (Tshortcut) to add text.
-
Margins and Safe Zones:
- To ensure your design isn’t cut off during printing, leave a margin around your design. Typically, a 0.125-inch margin is safe.
- Use guides to mark these margins. You can do this by going to
View>Guides>Lock Guidesto lock them in place as you design.
-
Bleed:
- If your design extends to the edges of the postcard, consider adding a bleed. This is an extra 0.125 inches of your design that extends beyond the trim line to prevent white edges.
- Adjust your design and guides accordingly to include bleed.
Preparing for Print
- Color Mode: Ensure your document is in CMYK mode to match the printing process.
- Resolution: Verify that your images are at least 300 dpi for high-quality printing.
- Fonts: Use fonts that are suitable for print. Some fonts might be optimized for digital viewing and may not print well.
- Final Check: Review your design for any errors, including typos, incorrect colors, or missing elements.
Saving and Exporting
-
Saving:
- Save your file as an AI (Illustrator) document to preserve all the layers and design elements.
- Go to
File>Save Asand choose "Adobe Illustrator (.AI)".
-
Exporting for Print:
- Export your design as a PDF, which is a widely accepted format for printing.
- Go to
File>Save Asand choose "Adobe PDF (.PDF)". - In the PDF settings, ensure that you choose the "Press Quality" preset and include any necessary bleeds and crop marks.
Your 4x6 postcard template is now ready for printing. Make sure to check with your printer for any specific requirements or preferences they may have.
